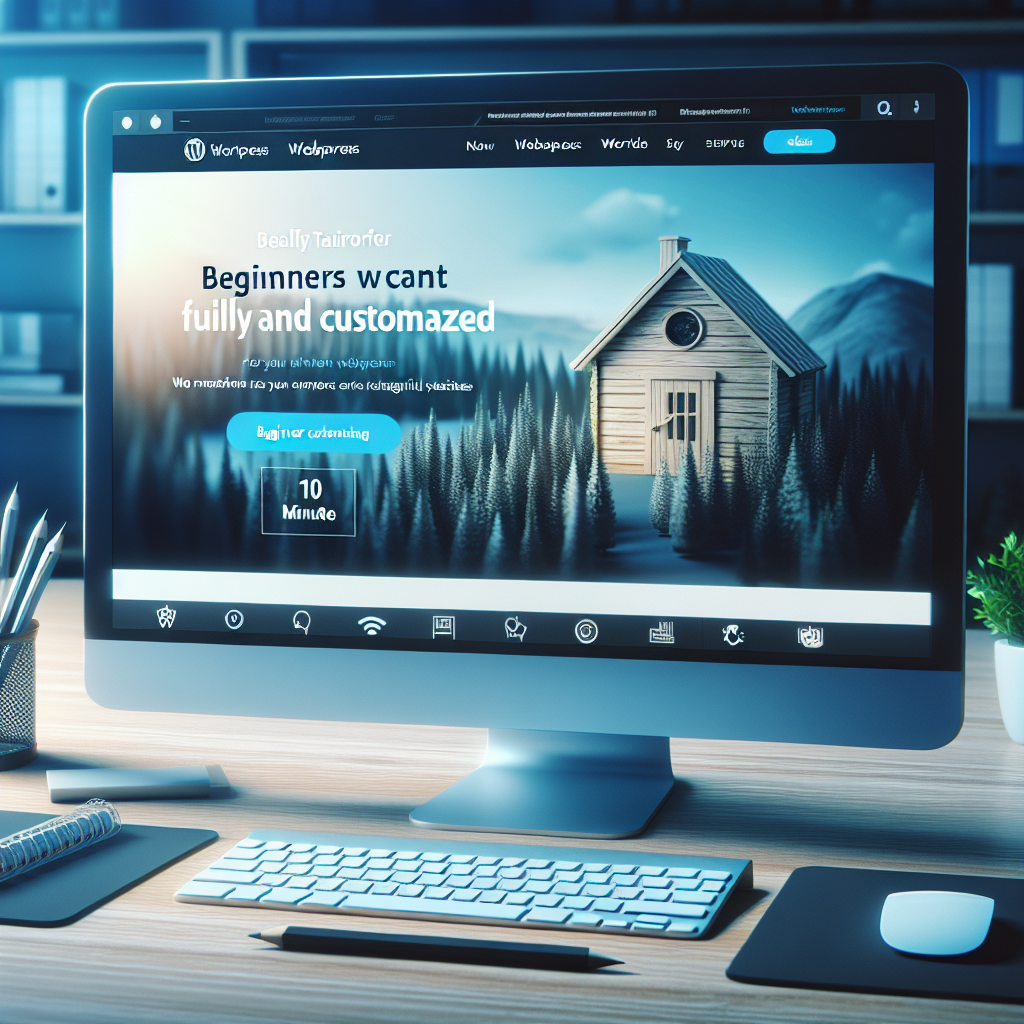
In this video by VIDSociety, you’ll be shown step by step how to create a WordPress website in just 10 minutes. The tutorial covers everything from purchasing a domain name and hosting to installing WordPress and using the Elementor plugin. The instructor also shares additional content ideas, tips for getting approved for affiliate networks, and recommendations for products and demos. The video emphasizes the importance of having both web hosting and a domain name, and recommends using Namecheap for affordable options. By the end of the tutorial, you’ll have a fully functional WordPress website and be equipped with the knowledge and tools to continue building and customizing your site. So, if you’re a beginner looking to create a WordPress website quickly and easily, this tutorial is perfect for you!
Hey there, this is Chris from VIDSociety, and I’ve got a great video for you! In this tutorial, you’ll learn how to make a WordPress website from start to finish in just 10 minutes. I’ll guide you through the process of purchasing a domain name and hosting, installing WordPress, and using the Elementor plugin to customize your site. Plus, I’ll provide additional content ideas, tips for affiliate networks, and recommendations for helpful products and demos. By the end of this video, you’ll have a fully functional WordPress website and the confidence to create even more amazing sites in the future. Let’s get started on this exciting journey of website creation together!
Choosing a Domain Name and Hosting
Importance of having a domain name and hosting
Having a domain name and hosting is essential for creating a website. A domain name serves as your website’s address, while hosting provides the space where your website’s files are stored and can be accessed by visitors.
A domain name gives your website a professional and unique identity. It helps users find and remember your website easily. On the other hand, web hosting allows your website to be accessible to anyone on the internet.
Recommended hosting provider: Namecheap
When it comes to choosing a hosting provider, Namecheap is highly recommended. Namecheap offers affordable shared hosting plans and domain registration services. They are reliable, user-friendly, and provide excellent customer support.
With Namecheap, you can get started with your website quickly and easily. Their hosting plans come with a user-friendly control panel, ensuring that even beginners can navigate through the process of building a website effortlessly.
Registering a new domain name
To register a new domain name, you can use a domain name search tool like Namemesh.com. This tool helps you generate ideas and shows you available domain names based on the keywords you enter.
Once you have decided on a domain name, you can proceed to Namecheap’s domain registration page. Enter your desired domain name and check if it is available. If it is, you can add it to your cart and proceed with the purchase.
Make sure to choose a domain name that is catchy, memorable, and relevant to your website’s content or purpose.
Purchasing a hosting plan
After registering a domain name, you need to purchase a hosting plan to make your website accessible on the internet. With Namecheap, you can choose from their shared hosting plans based on your needs and budget.
Select the plan that suits your requirements and click “Get Started.” Namecheap provides monthly payment options, allowing you to pay only for the period you need.
Once you have chosen the hosting plan, you can proceed to the checkout page and complete the payment process. After that, you will receive a welcome email with your login details and instructions on how to access your hosting account’s control panel.
Installing WordPress
Accessing cPanel account
To install WordPress, you first need to access your cPanel account. cPanel is a web-based control panel that allows you to manage your hosting account and perform various tasks.
Using the login details provided in the welcome email from Namecheap, you can log in to your cPanel account. Once logged in, you will have access to all the tools and features necessary for managing your website.
Installing WordPress
Installing WordPress is straightforward when using cPanel. Within your cPanel account, locate the WordPress installation option and click on it.
From there, you can choose to install WordPress manually or use the one-click installer. The one-click installer is the easiest and most convenient method, as it automatically installs and sets up WordPress for you.
Follow the instructions provided by the installer, such as selecting the domain where you want to install WordPress and creating a username and password for your WordPress admin account.
Once the installation is complete, you will receive a confirmation message with the URL to access your WordPress website’s dashboard.
Using the Astra Theme and Elementor Plugin
Benefits of using Astra theme and Elementor plugin
The Astra theme and Elementor plugin are a powerful combination for building and designing professional-looking websites.
The Astra theme offers a lightweight and highly customizable design, allowing you to create visually appealing and responsive websites. It provides pre-built templates and layout options that can be easily customized according to your preferences.
On the other hand, the Elementor plugin is a drag-and-drop page builder that simplifies the process of designing and editing web pages. It gives you complete control over the layout, design, and content of your website, without requiring any coding knowledge.
Installing and activating the Astra theme
To install the Astra theme, go to your WordPress dashboard and navigate to the “Appearance” section. Click on “Themes” and then “Add New.” Use the search bar to find the Astra theme and click on “Install” once you locate it. After the installation is complete, click on “Activate” to make the theme active on your website.
Installing and activating the Elementor plugin
Similar to installing the Astra theme, you can install the Elementor plugin by going to the WordPress dashboard. Click on “Plugins” and then “Add New.” Search for the Elementor plugin and click on “Install.” Once the installation is finished, click on “Activate” to enable the plugin.
Importing pre-made templates
Both the Astra theme and Elementor plugin offer pre-made templates and layouts that you can import and customize for your website. These templates eliminate the need to design everything from scratch and provide a starting point for your website’s design.
To import a pre-made template, open the page or post where you want to use it. Click on the “Edit with Elementor” button to launch the Elementor editor. Inside the editor, you will find a library of templates that you can browse and choose from. Select the desired template, and it will be imported into your page for further customization.
Customizing the Website with Elementor
Basic overview of Elementor interface
The Elementor interface is designed to be user-friendly and intuitive. It consists of the editor window, the side panel, and a toolbar at the top.
The editor window is where you can drag and drop elements, such as text boxes, images, buttons, and more, onto your web page. The side panel provides options and settings for customizing each element, allowing you to change colors, fonts, sizes, and other visual aspects. The toolbar at the top contains additional tools for managing your page, saving changes, and previewing your work.
Editing and customizing the website
To edit and customize your website with Elementor, simply click on any element you want to modify. The side panel will display relevant options to change the element’s appearance and behavior.
You can modify text content, style headings, add or remove sections, adjust spacing, and much more. Elementor gives you full control over the design process, allowing you to create a unique and personalized website.
Adding and rearranging sections
Elementor offers a wide range of pre-designed sections that you can add to your web pages. These sections help you structure and organize your content effectively.
To add a section, click on the “Add Section” button in the Elementor editor. Choose the desired section layout and it will be inserted into your page. You can then customize the section by adding elements, adjusting columns, and rearranging the layout to suit your needs.
Choosing colors and fonts
With Elementor, you can easily customize the colors and fonts across your entire website to maintain consistency and branding.
To change colors, select the element you want to modify, navigate to the side panel, and look for the color settings. Here, you can choose colors from a color picker, enter specific color codes, or use predefined color palettes.
Similarly, font settings can be accessed in the side panel. You can choose from a variety of fonts, adjust font sizes, styles, and colors to achieve the desired look and feel.
Adding images and videos
Elementor allows you to add images and videos to your website to enhance the visual appeal and engage your visitors.
To add an image, select the image element from the Elementor editor toolbar and drag it onto your page. You can upload your own images or choose from the media library. Once the image is added, you can resize, crop, and apply effects to achieve the desired presentation.
The process of adding videos is similar. Use the video element to embed videos from platforms like YouTube or Vimeo. Simply copy and paste the video URL, and Elementor will handle the rest.
Creating contact forms
Contact forms are an essential feature for websites, as they enable visitors to send messages or make inquiries directly. Elementor provides a built-in form widget that allows you to create and customize contact forms easily.
To add a contact form, drag the form widget onto your page. You can then add and customize form fields, change the design and layout, and configure email notifications to receive submissions.
Making the Website Secure
SSL certificate importance
Securing your website with an SSL (Secure Sockets Layer) certificate is crucial for protecting your visitors’ data and establishing trust. An SSL certificate encrypts the data transmitted between your website and its visitors, ensuring that sensitive information cannot be intercepted or tampered with.
Additionally, having an SSL certificate in place can boost your website’s rankings in search engine results. Search engines prioritize websites with SSL certificates, considering them more trustworthy and secure.
Automatic SSL certificate installation with Namecheap
One of the advantages of using Namecheap as your hosting provider is that they provide automatic SSL certificate installation. This means that once your website is live, Namecheap will automatically install an SSL certificate for you.
By having Namecheap handle the installation, you can ensure that your website is secure, and any information transmitted through it is encrypted. This eliminates the need for manual configuration and saves you time and effort.
Content Ideas and Additional Resources
YouTube and blog post content ideas
To create engaging and valuable content for YouTube and blog posts, consider the following ideas:
- Tutorials: Create step-by-step videos or articles that guide viewers on how to use specific tools or software related to your niche.
- Product reviews: Share your honest opinions and experiences with products or services that your audience may find useful.
- Tips and tricks: Provide your audience with useful tips, hacks, or shortcuts to help them accomplish specific tasks or solve common problems.
- Behind-the-scenes: Showcase the process behind creating your content, giving viewers a glimpse of your workflow and creativity.
- Interviews: Feature experts or influencers in your niche, conducting interviews that provide valuable insights and perspectives.
Getting approved for affiliate networks
If you’re interested in affiliate marketing, getting approved for affiliate networks is essential. To increase your chances of approval, follow these tips:
- Build a professional website with quality content and an appealing design.
- Focus on niche-specific content and establish yourself as an authority in your chosen niche.
- Provide genuine recommendations and demonstrate your expertise.
- Follow the guidelines and requirements set by affiliate networks carefully.
- Be transparent about your affiliations and disclose your relationships with products or services you promote.
- Start with smaller affiliate programs and work your way up to larger networks as you gain experience and credibility.
Making review videos
Review videos are a powerful way to showcase and promote products or services. To create effective review videos:
- Research the product or service thoroughly to gather accurate and relevant information.
- Be honest and unbiased in your reviews, highlighting both the pros and cons.
- Demonstrate the product or service in action, providing practical examples and real-life usage scenarios.
- Use high-quality visuals and audio to enhance the viewing experience.
- Add personal touches and anecdotes to connect with your audience on a deeper level.
- Include affiliate links or promotional codes in your video description, ensuring proper disclosure of your affiliations.
Product recommendations and demonstrations
When recommending products or demonstrating their usage, keep these best practices in mind:
- Only recommend products or services that you genuinely believe in and have personally used or extensively researched.
- Clearly explain the benefits and features of the product or service, highlighting how it solves a problem or fulfills a need.
- Show practical examples and use cases to illustrate the product’s value and versatility.
- Include visuals such as images or videos to enhance the presentation and make it more engaging.
- Provide accurate and up-to-date information, ensuring that your audience has all the information they need to make informed decisions.
YIVE Amazon Campaign Setup
YIVE Amazon Campaign Setup is a tool that simplifies the process of promoting Amazon products through affiliate marketing. With YIVE, you can automate various tasks, such as product selection, keyword research, content creation, and scheduling.
By using YIVE, you can save time and effort while maximizing your earnings by promoting relevant and high-converting Amazon products.
Spin Rewriter 11
Spin Rewriter 11 is a software tool that helps create unique and readable content by automatically rewriting articles or texts. It uses advanced algorithms to rewrite content while maintaining its original meaning and coherence.
With Spin Rewriter 11, you can save time and energy by generating new content from existing articles, allowing you to produce fresh and unique content consistently.
DFY Suite 3.0
DFY Suite 3.0 is a platform that provides the ability to syndicate your content across multiple high-quality social bookmarking websites. By syndicating your content, you can increase its visibility and reach a wider audience.
DFY Suite 3.0 offers automation, saving you time and effort by submitting your content to various social bookmarking sites.
Keyword Research Software
Keyword research is crucial for optimizing your website’s content and improving its visibility in search engine results. Keyword research software provides insights and data on the popularity and competitiveness of specific keywords or phrases.
By using keyword research software, you can discover profitable keywords, analyze your competitors’ strategies, and optimize your content to rank higher in search engine results pages.
Affiliate Disclosure
Instructor’s share of revenue from featured products/services
As an affiliate marketer, the instructor may receive a share of revenue from the products or services featured in the video or mentioned within the content. This means that if viewers make a purchase through the provided links or promotional codes, the instructor may earn a commission.
This affiliate disclosure is in place to ensure transparency and to inform viewers that the instructor may have a financial interest in the products or services being recommended. However, it does not influence the instructor’s decision to feature or recommend specific products or services.
Conclusion
In conclusion, building a WordPress website is achievable even for beginners with the right tools and guidance. By following the steps outlined in this tutorial, you can register a domain name, purchase a hosting plan, install WordPress, and customize your website using the Astra theme and Elementor plugin.
Additionally, we have provided additional content ideas for YouTube and blog posts, tips for getting approved for affiliate networks, and insights on making review videos. We have also recommended various products and resources that can enhance your website-building journey.
Remember to prioritize website security by obtaining an SSL certificate, and always disclose any affiliate relationships or financial interests when promoting products or services.
If you enjoyed this tutorial and found it helpful, we encourage you to subscribe to our channel for more training videos, tutorials, and product reviews. Happy website building!